
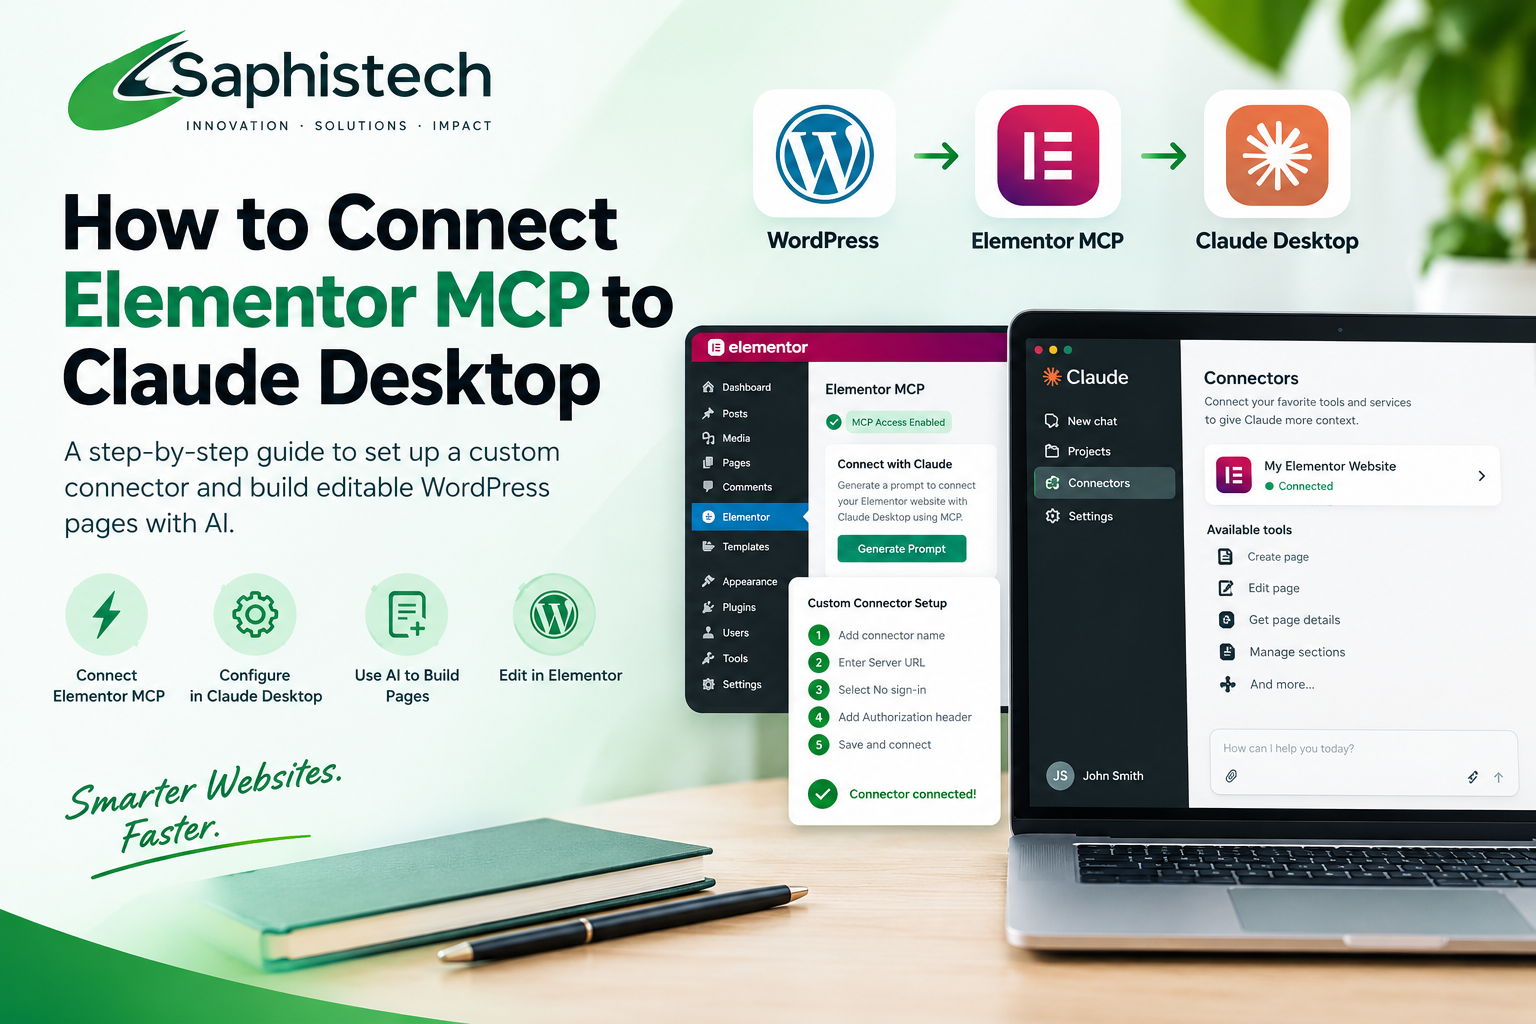
In this guide, we will walk through the practical setup process using Claude Desktop's custom connector feature. You will learn how to generate the Elementor configuration, extract the server URL and authorization value, connect your website, test the integration and troubleshoot common problems.
Introduction: Build Elementor Websites With Claude AI
What if you could describe a website layout to an AI assistant and have it build the page directly inside your WordPress website, without manually recreating every section in Elementor?
That is one of the possibilities opened up by Elementor MCP and Claude Desktop.
For WordPress developers, freelancers and digital agencies, this integration offers a new way to approach website development. Instead of using AI only to generate HTML, CSS or design suggestions, you can connect Claude to your Elementor website and allow it to work with supported Elementor capabilities.
For example, you could ask Claude to create a homepage with a hero section, service cards, testimonials, a call-to-action and a responsive layout. With a working MCP connection, Claude can use the tools exposed by Elementor to build native, editable website content.
In this guide, we will walk through the practical setup process using Claude Desktop's custom connector feature. You will learn how to generate the Elementor configuration, extract the server URL and authorization value, connect your website, test the integration and troubleshoot common problems.
What Is Elementor MCP?
MCP stands for Model Context Protocol. It is an open protocol that enables AI applications to communicate with external tools and services.
Elementor MCP connects compatible AI clients to an Elementor-powered WordPress website through the supported WordPress integration.
According to Elementor's official documentation, connected AI tools can work with native Elementor structures rather than generating disconnected code that must be manually recreated in the visual editor.
Depending on your installation, subscription and enabled capabilities, you can use this integration to:
Create full-page layouts and individual sections.
Generate native Elementor elements.
Work with supported design classes and global styling.
Build layouts using supported containers and components.
Access additional website-building capabilities where available.
Create content that can be reviewed and edited in Elementor.
The important distinction is that Claude does not simply produce a design mockup. Through a properly configured MCP connection, it can use the tools exposed by the integration to perform supported operations on your website.
Official resource: Elementor MCP.
What You Need Before Setting Up Elementor MCP
Before you begin, make sure your WordPress website meets the current integration requirements.
Requirement Details
WordPress Version 6.8 or later
Elementor Elementor Core 4.3.0 or later
Elementor Pro Version 4.3.0 or later for applicable Pro capabilities
AI application Claude Desktop
WordPress access An administrator account for the initial setup
Website connection A reachable WordPress website with MCP access enabled
These version requirements are based on Elementor's published documentation at the time of writing. Check the official guide for subsequent changes.
You should also have permission to create WordPress application passwords. Elementor's setup process generates the credentials needed for the connection.
Important: You do not need to paste the entire configuration into a Claude conversation. In the custom connector method explained below, you will extract the connection details and enter them into Claude Desktop's settings.
Step 1: Generate Your Elementor MCP Configuration
The first step is to prepare the connection from your WordPress dashboard.
Log in to your WordPress website.
Navigate to Elementor → Elementor MCP.
Click Enable MCP access if it has not already been enabled.
Select the appropriate Claude setup option, if available.
Accept the acknowledgement concerning the creation of an application password.
Click Generate Prompt.
Click Copy prompt to copy the generated configuration or setup instructions.
Open Notepad on your computer and paste the copied content into it.
Keep this file open because you will need to locate two important values:
Server URL: The endpoint Claude will connect to.
Authorization value: The credential used to authenticate requests to your WordPress website.
Elementor generates the connection details for your website, so use those values rather than copying credentials from another tutorial.
Official instructions: How to Connect Elementor to an AI Tool Using MCP
Step 2: Download and Open Claude Desktop
If you do not already have Claude Desktop installed, download it from Anthropic's official website.
Visit Claude Desktop Download.
Download the version appropriate for your operating system.
Install the application.
Open Claude Desktop and sign in to your account.
For this tutorial, we will use the desktop application because it provides the connector settings needed for this workflow.
Do not confuse Claude Desktop with the Claude website in your browser. The menus and connection options may differ.
Step 3: Open the Connectors Settings
Once Claude Desktop is open:
Click your profile icon at the bottom of the application.
Select Settings.
Locate Connectors.
Click Add to add a custom connector.
You are now ready to register your Elementor website as an external service.
The exact appearance of these menus may change as Anthropic updates Claude Desktop, but the goal is to reach the custom connector setup screen.
Step 4: Add Your Elementor Website as a Custom Connector
In the custom connector setup window:
Enter a name for your connector.
For example, use My Elementor Website or your website's name.
Return to the Notepad file containing the Elementor-generated configuration.
Locate the server URL.
Copy the complete URL.
Paste it into the Server URL field in Claude Desktop.
Click Continue.
Make sure you copy the actual URL generated for your website. Do not use the example URL from another website or substitute your normal WordPress homepage URL unless Elementor explicitly provides that address as the MCP endpoint.
Claude now has the endpoint it needs to attempt the connection, but you still need to configure authentication.
Step 5: Configure Authentication and Request Headers
This is the most important part of the setup.
When the authentication settings appear:
Select No sign-in under the Authentication setting.
Scroll down to Request Headers.
Click Add Header.
Enter Authorization as the header name.
Return to your Notepad file.
Locate the authorization value embedded in the generated configuration.
Copy the complete value.
Paste it into the header's Value field.
Click Add to save the header.
The authorization value may begin with Basic followed by a long encoded string. The exact value will be different for each generated credential.
For example, the structure may look like this:
Authorization: Basic [your-generated-credential]
Step 6: Save the Connector and Confirm the Connection
After adding the request header, save or complete the connector setup.
Wait for Claude Desktop to finish processing the connection.
If everything is configured correctly, your Elementor connector should appear in the available connectors list.
To confirm that the connection works:
Open a new Claude conversation.
Check whether the Elementor connector or its tools are available.
If Claude asks for permission to use a tool, review the requested action before approving it.
Start with a read-only request before asking Claude to create or modify content.
If the connector appears but the tools do not work, proceed to the troubleshooting section below.
Step 7: Test Elementor MCP With Your First Prompt
Once the connection is established, ask Claude to inspect the capabilities available through your website.
Try this prompt:
I have connected my WordPress website through Elementor MCP. Inspect the available tools and tell me what you can do with my Elementor website. Identify the supported page-building capabilities and any limitations. Do not create, edit or publish anything yet.
This is a useful first test because it checks whether Claude can access the integration before you allow it to make changes.
If the response confirms that the tools are available, you can move on to creating a draft page.
Tips for getting better results
Give Claude a clear brief. Describe the audience, page sections, brand colours and intended action.
Provide visual references. If your workflow supports reference images or design documents, use them to communicate the intended result.
Build in stages. For complex pages, ask Claude to create the hero and services sections first, then continue with the remaining sections.
Review the output. Check mobile responsiveness, typography, spacing, links, forms and accessibility before publishing.
Conclusion: A New Workflow for WordPress Development
Elementor MCP makes it possible to connect Claude Desktop to an Elementor website and use AI to perform supported website-building operations.
The setup involves generating your Elementor configuration, extracting the server URL and authorization value, registering a custom connector in Claude Desktop and testing the connection.
Once connected, you can begin experimenting with AI-assisted landing pages, service pages and other website layouts while retaining the ability to review and refine the result in Elementor.
For freelancers and agencies, this is an opportunity to make website development more efficient without giving up control over the final design.
At Saphistech, we believe the best technology workflows combine automation with thoughtful design, technical expertise and reliable delivery. If your business needs a new website or wants to improve its existing WordPress website, explore our website development services to discover how we can help.